
A DIY Light Table for Sensory Seekers
I know what it feels like to be out of ideas. When our foster son entered our lives, he was a vibrant, intense sensory seeker. He needed high-octane input, often chewing on non-food items, bumping, crashing, and constantly moving. He struggled to settle and focus on quiet activities.
The light table was born out of one more desperate attempt to engage him in a calming, focused activity. We couldn’t afford a professional one, so we cobbled together a DIY version. The moment we put the colorful toys on that glowing surface, everything changed. He was mesmerized. He didn’t just look; he stayed, he sorted, he manipulated. This wasn’t just a toy; it was an organizational tool for his nervous system.
This experience led me to dive deep into the “why” behind this success—and how we, as professionals who work with young children, can easily implement this powerful tool.
The Science of the Shine: Why Visual Input Matters
The success of the light table is rooted in understanding the visual system and how it processes input.
While some children avoid (sensitive to bright lights and cluttered environments), our little guy was a seeker. This meant his nervous system required more intense, consistent visual input to feel regulated.
Why the Light Table Works for Sensory Seekers
For a child who is a sensory seeker, the world can feel overwhelming because their brains are constantly searching for more input. They often struggle to filter irrelevant stimuli.
The light table offers two critical benefits:
- Focused Contrast and Intensity: The light source underneath creates extremely high contrast, making objects pop and colors appear saturated. This satisfies the visual seeker’s need for intense input without creating the chaotic, overwhelming input found in cluttered room.
- Calming and Organizing Input: When the input is clear, consistent, and contained, it can be deeply regulating. This focused environment allows the child to engage in fine motor, cognitive, and sorting tasks while receiving the exact visual “input” they need, ultimately leading to a more settled state.
This transition from seeking chaotic input to engaging with focused, controlled input is extremely useful for improving attention and task endurance.
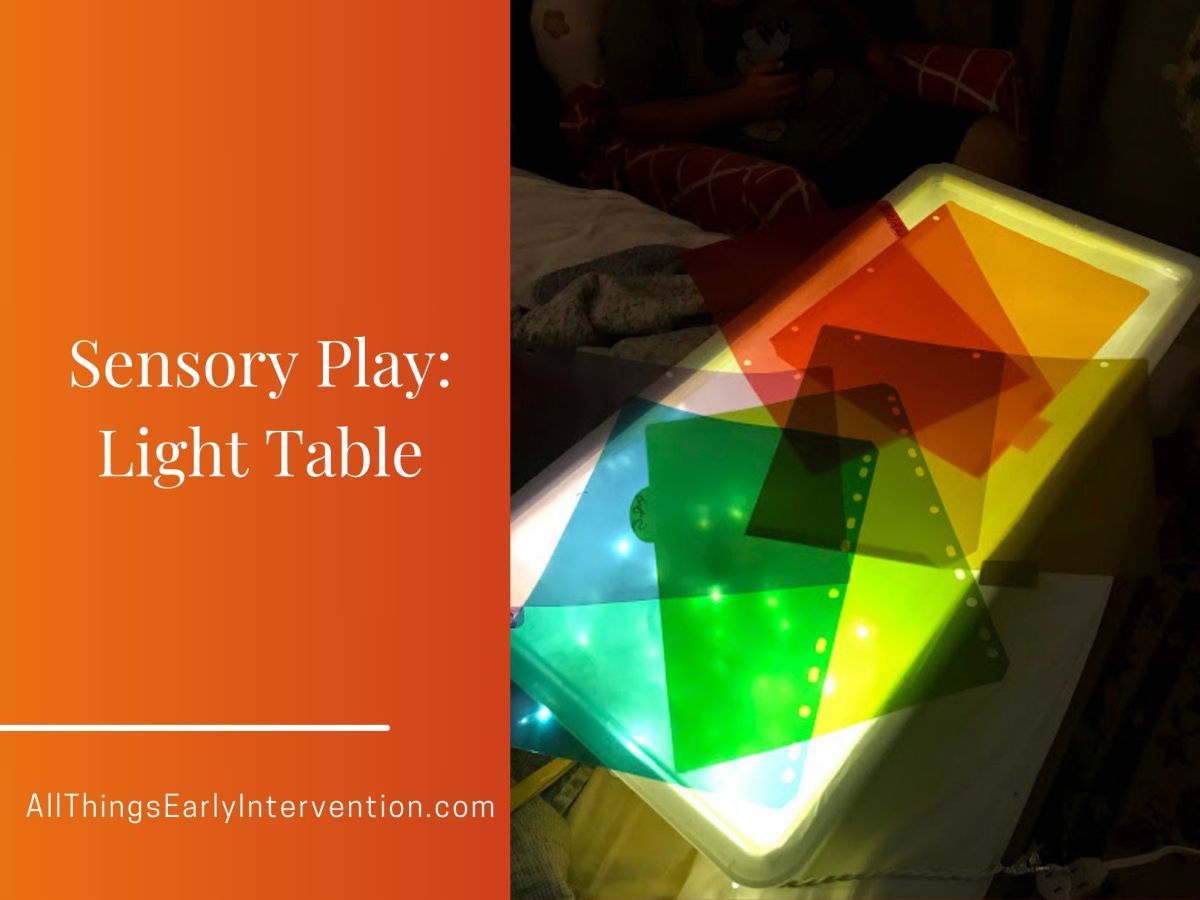
The DIY Light Box
The beauty of the DIY light box is that it doesn’t require a huge budget to be a high-impact intervention.
Here is how you can make a functional, durable light box for your child or to recommend to families:
| Clear Plastic Storage Bin | This forms the table’s surface. A shallow, large, clear bin works best. |
| Source of Light | Use a strip of LED battery-operated lights or white fairy lights. They are low-heat, safe, and inexpensive. We used Christmas lights but they had to be plugged in. |
| Duct Tape | To secure the lid closed and hold the lights in place. |
| Optional: Elevating the Surface | For use with toddlers, you can place the bin over an old coffee table or a sturdy stool to bring the surface up to standing/sitting height. |
The Simple Setup:
- Secure the LED strip lights to the inside of the bin.
- Turn the lights on, and you have a functional, easily portable light table.
The clear bin that I used also had a clear lid so I did not have to flip the container upside down.
If your lid is not clear, then flip the container upside down and use the clear bottom of the bin as the play surface.
Shining a Light on Play
In our experience, simply playing with regular toys on a light box was enough to satisfy our sensory seeker.
Upon experimentation, I discovered household materials that looked pretty cool on the light box.
- the clear plastic of disposable sippy cups
- plastic binder dividers
- mardi gras beads
- see through neon shot classes from dollar tree
- the clear baby teethers that you put in the fridge to get cold
- see through ball with bumpy texture (I had a scented on from Discovery Toys)
- those lava lamp calm down timer things
- What else?
Other ways to enjoy your light box:
- Color Mixing Exploration: Use clear, zip-top bags filled with small amounts of colored hair gel or tempera paint. As the child squishes and mixes the bags on the light, they can observe how colors combine (e.g., yellow + blue = green).
- Literacy and Pre-Writing: Place a sheet of paper with large letters or shapes over the light table and have the child trace the outlines using translucent gems or plastic math counters.
- Counting and Sorting: Provide various translucent objects (e.g., poker chips, plastic links, small glass pebbles) and containers. The contrast of the light makes sorting and stacking tasks more appealing and focused.
- Construction: Use translucent building blocks (like magnetic tiles) on the surface to build glowing structures. The way the light shines through the colors adds another layer of engaging visual feedback.
The light table is more than just a novelty; it is a focused, calming strategy that helps children with sensory challenges organize their world. It teaches them how to attend to input in a controlled way, laying the groundwork for better attention in other environments. What easy-to-implement sensory hacks are working in your space right now?
References on Using Light Boxes in Early Intervention
- And Next Comes L. Light Table Activities. https://www.andnextcomesl.com/p/light-table-activities.html
- NHS Greater Glasgow and Clyde. Sensory Box: Visual. https://www.nhsggc.org.uk/kids/resources/ot-activityinformation-sheets/sensory-box-visual/
- Your Kids Table. Visual Sensory Activities. https://yourkidstable.com/visual-sensory-activities/
- Twenty One Senses. How to Support Visual Seekers. https://www.twentyonesenses.org/2021/01/18/how-to-support-visual-seekers/
- The Autism Helper. Sensory Processing: The Visual System. https://theautismhelper.com/sensory-processing-the-visual-system/
- The Inspired Treehouse. 10 Calming Sensory Strategies for School. https://theinspiredtreehouse.com/10-calming-sensory-strategies-for-school/
